

A perfect project for the cripplingly unartistic! My little boy’s room was seriously lacking in decor and needed an update badly – enter the DIY Mountain Nursery Mural. A look that adds brightness and depth to the room AND will grow with him. It couldn’t be simpler – follow these steps below to bring the mountains into your home.

Supplies: Paint, 3 or 4″ roller, roller refills, paint trays, pencil, painters tape (make sure you splurge and buy the good stuff! we used half a roll of frog tape)
For the paint – I chose one colour that was similar but darker than the original room colour, and then two contrasting colours from the same palette. Make sure you hold the paint swatches up to your wall in natural daylight.
Start by moving all furniture away from the workspace, wipe down the wall with mild soapy water and make sure to clean the baseboards, trapping dust under paint is a nightmare to fix. I vacuumed the floor in the area as well.
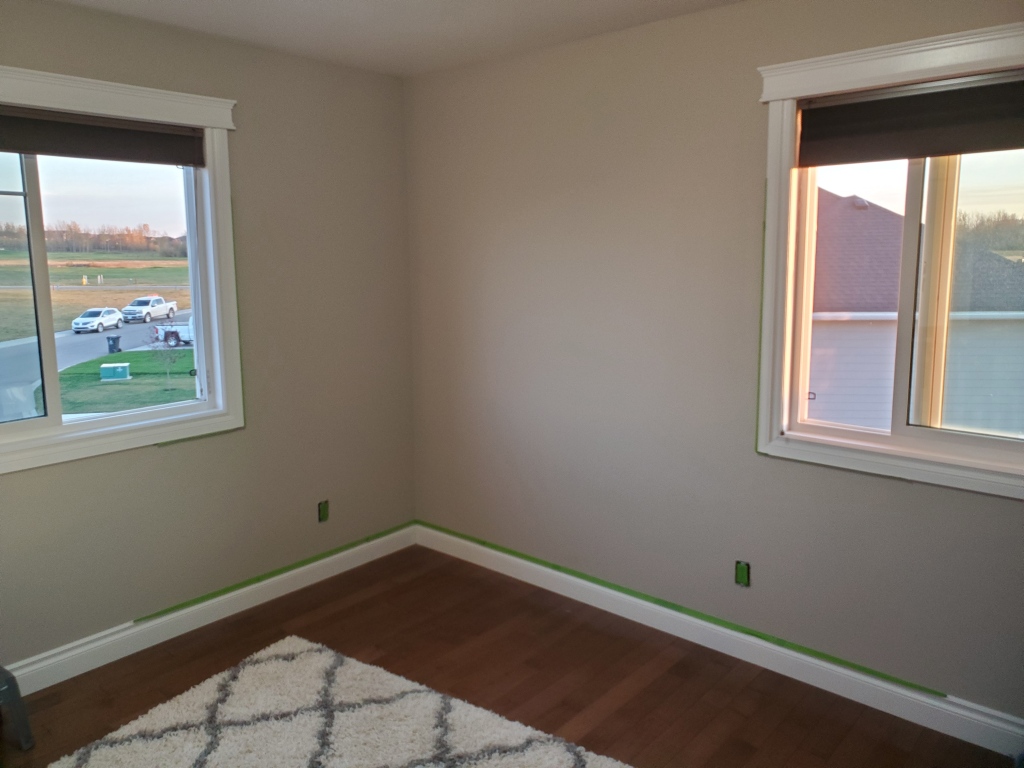
Next, remove any light switch covers (turn breaker off if you have littles!) and tape off switches, baseboards and window trim.
Here is the fun part – taping off your mountain scene. This may take a few tries and adjustments, so take your time and step back every once in a whileto get an idea of the full picture.

We started by marking off the heights that the three layers (or ranges) would hit. The began taping off with the bottom row – or foothills as we called them. I made the basic triangle shape and then went back and added extra jags.
Once the first layer was done, the second two were easy to add. I tried to make them increasingly steep and then at the last minute decided to add a ‘snow line’. Thankfully I had some leftover white paint from a previous project.
Once you have all of your layers taped off, step back and assess the visual as a whole. Does an angle need to be changed? Maybe add a second jag, or take one away. Every mountain range will look different, that’t the beauty of art!
Next – time to paint! We started and the top and worked our way down to prevent any’painted t-shirt’ misshaps. I used white paint and a regular brush to fill in the snow line at the top. Since the area was small, I didnt want to use a roller and tray just for the snow.

Moving down, We used a 4″ roller to fill in the mountain areas, with a brush for the edges around trim and the corner. Make sure you apply your paint evenly and in full strokes to get an even coverage.
We waited a couple hours and added a second coat (and a third to the snow) and then waited for the whole thing to dry overnight.

Pulling off the tape to reveal your finished artwork is the best part! DOn;t wait too long to pull the tape, or it could pull paint/wall with it. I would say 24 hours or less. We had played with the idea of filling in the taped areas, but my husband and I loved the contemporary look of the blank spaces between the ranges and we descided to leave them (bonus – less work!)
Overall I am thrilled with the result. There were a few areas where the paint seeped under the tape – to prevent that next time, i would double check to make sure the tape was fully pressed down. It doesnt bother me, but with a small brush it would be simple to touch up.

I am so glad we chose to DIY this mural, the result is fantastic, looks pro and was really really easy.
-Steph

I love the colors you used. Really nice!
LikeLike
Thank you so much!
LikeLike
This looks amazing! What a great way to decorate a room without a lot of money. You are very creative as well as inspiring.
LikeLike
Thank you! We love how it turned out!
LikeLike